a campervan for city folks
We’ve had a campervan since 2019, and here are some notes about our setup, including some long-term testing notes.
Van selection => an AWD Toyota Sienna
Our situation:
- we live in the city of San Francisco
- we have a young child (currently 4 years old)
- we are a single car family
- we do a lot of outdoor activities, but not necessarily off-road
- I don’t have time/space/interest in doing my own work on a car
In other words, we wanted a daily driver that could also be used for adventures.
We immediately ruled out large vans like Sprinters – no good for daily city life. In addition to the long wheelbase and bad fuel mileage, they’re also too tall to fit into many San Francisco garages.
AWD was important because of Tahoe ski trips. Winter conditions often require mandatory tire chains, unless you have a 4WD / AWD vehicle and snow tires. The convenience of AWD seems like a no-brainer to me.
It’s a short list of AWD vans: Toyota Sienna and Chrysler Pacifica.
We already knew we were going to bring our van to GTRV for conversion, and they convert Siennas but not Pacificas, so in the end, the choice was pretty simple.
For completeness, we did think through a few other options:
- Mercedes Metris - acceptable size, but with undesirable cargo van ergonomics, not a cushy passenger van
- Nissan NV200 - same problem, a cargo van, not great as a family car
We ended up with a used 2018 AWD Toyota Sienna, with the LE trim level
If there was one thing I’d do over again, it would have been to get the hybrid version of the Sienna, which didn’t exist at the time we bought our van.
Weekender Build
We knew before buying the van that we were going to have the work done by GTRV in nearby Sebastopol, CA, not only because they are close to where we live, but because they have a lot of experience with minivans, not just cargo vans.
We opted for the Weekender package, which consists of:
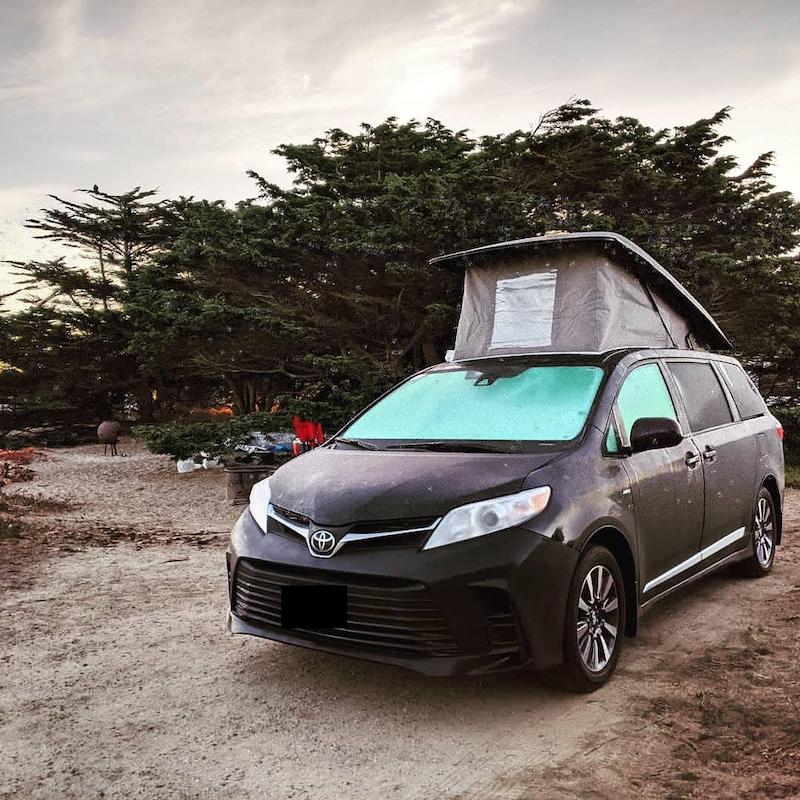
- pop-top roof, allows sleeping of 2 small-to-medium humans
- futon bench seat, converts into a bed to sleep 2 more humans
The only other extra we paid for was to add some Yakima roof rack rails in case we ever wanted to mount a rack on top.

We worked with GTRV for a minor customization in the bench seat. In their process, you’d normally end up with 2 seat belts, but we wanted a 3 seat belt config. The width of the bench is fixed (and slightly narrower than the OEM bench), so the only thing you can do is to allocate the fixed width into 3 portions instead of 2, meaning that every seat gets a little narrower.
We ended up cheating the middle seat so it only got 12" of width, leaving 18" for each of the remaining two seats. Our reasoning was to optimize for the common case (only driving 3-4 people), and in the rare occasions when we have 5 people, accept the fact that the middle seat will be uncomfortable.
Overall, it was a great experience and I can recommend GTRV.
Our total cost was somewhere around $15000.
Window covers
When you’re camping in a van, it’s desirable to cover the windows, for privacy and to keep out the morning sun.
We bought the full vehicle kit from WeatherTech and have been mostly happy with it.
When it’s cold out, we turn the shiny side inwards, nominally to reflect the heat back in. I’m sure it’s meaningless, but it has the nice side effect of making the van a little more stealth with black window shades vs shiny ones.
You can see the front window shade in shiny mode in the photo above.
We store all the shades in the roof top - works fine even when the roof is pulled down in its normal driving position. The shades have a tendency to slide out during hard braking, so we stuff our pillows up there too, which then prevent them from sliding out.
I will say the rear window shade from WeatherTech was very annoying because it was very difficult to keep it in place, and would fall down constantly.
The solution was to purchase a different shade for the rear window from High End Motorsports, which has suction cups to keep the shade in place. We haven’t had a problem since. When ordering, be sure to specify “no front windshield” and “with rear window shade”.
Rear hitch
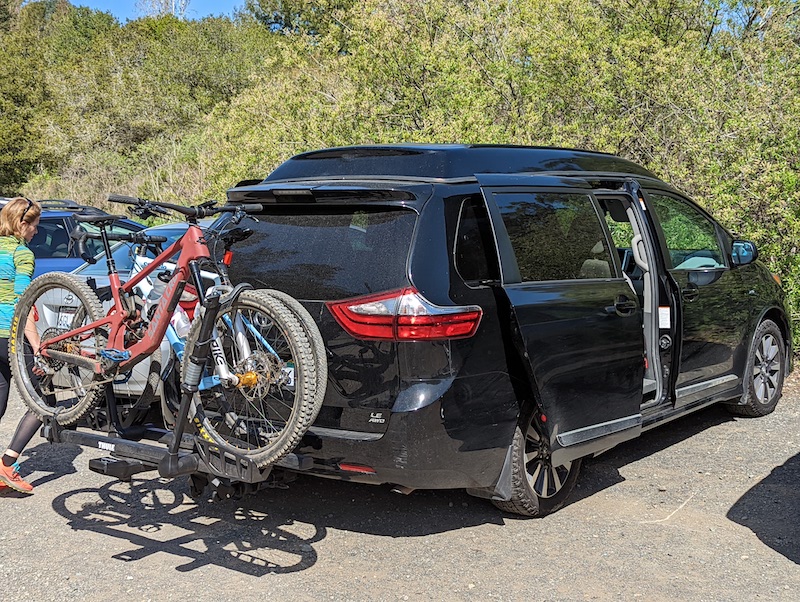
In 2021, we added a hitch and bike carrier.
I ordered the etrailer Trailer Hitch Receiver from etrailer in a matte black finish, and it’s been perfectly fine.
I had it installed at Bay Truck Accessories in San Francisco, and they were fast and good, at a reasonable price.

After reading a bunch of reviews on Outdoor GearLab, I went with their recommendation and bought a Thule T2 Pro XTR.
Some long term testing notes:
- The integrated cable locks are very short and I always struggle to make them work with our bikes, which is annoying because my use case is only to deter casual thefts for a short period (say, the amount of time to eat a restaurant meal), and I find myself questioning the hassle of fiddling with the lock vs the minimal security they provide. Not a strict deal breaker, but still.
- The tilt angle isn’t quite enough for the van’s rear gate to clear, which is also annoying. I find that I can gently push the bike’s handlebars and finesse the rear gate to fully open it, but I wish I didn’t have to do it that way.
- The rack is just barely underrated to carry our very heavy e-cargo bike. The max capacity is something like 70 lbs, and our bike weighs closer to 75 or 80 lbs, even after removing the battery pack. We don’t drive the ebike around very much, but when we do, it is quite harrowing to think that something very expensive is going to rip out something moderately expensive and result in an extremely expensive set of repairs.
- The rack is indeed bulky and annoying to store in our garage. I didn’t think it would bother me how much space it takes up, but it turns out I am bothered more than expected. Oh well.
All-Terrain tires
In 2021, I upgraded the tires from the stock OEM runflats to a set of Falken WildPeak A/T Trail tires.
I found this comparison on Tire Rack to be super helpful.
Compared to that review, I didn’t think the “growl” is noticeable at all; in fact, they seem to be quieter than the OEM tires. I leave these tires on all year.
This cost about 0.5 mpg, but we don’t actually drive that many miles in a year and the extra rain and snow traction has been great. We’ve driven from SF to Tahoe in snow storms, and not having to deal with chains was extremely convenient.
That said, I did also purchase a pair of Konig Self-Tensioning Tire Chains in case we ever encounter any truly gnarly ice, but having bought them in 2020, I’ve never even tried putting them on.

Since the OEM tires are run flats, the Sienna doesn’t actually come with a spare tire. I haven’t figured out what to do about this risk, other than keeping a can of fix-a-flat in the back and making sure our AAA membership is current.
Winter camping
Since late 2023, I’ve been slowly getting more into winter camping, the idea being to have more flexibility for skiing.
The main, most obvious question is how to stay warm.
Future ideas
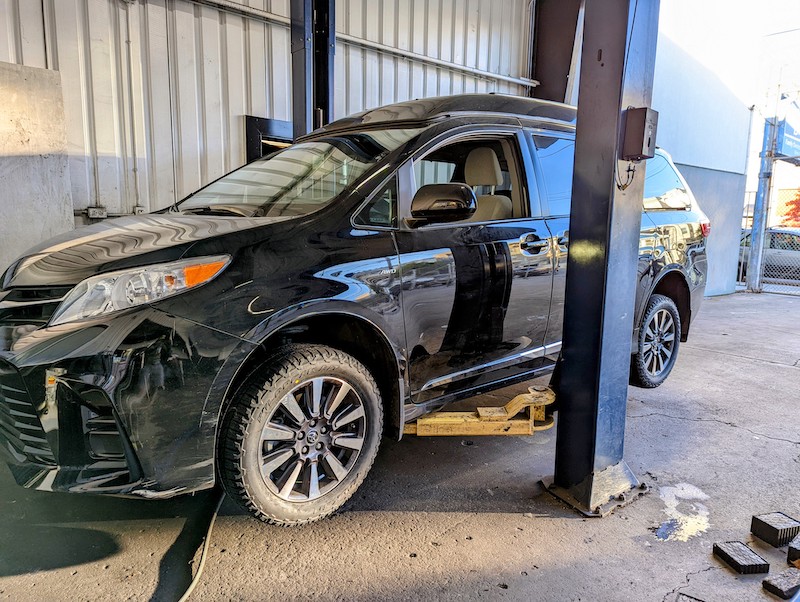
I’ve been idly wondering whether to get the Traxda lift kit because a little more ground clearance would be nice. The rear hitch occasionally scrapes on steep driveways.
Reading through the discussions on siennachat.com, the Traxda kit seems like a better choice than the Journeys lift kit, because the Journeys is taller, and therefore puts more stress on your CV joints.
I would also hesitate driving a vehicle much taller around SF, where low clearances are common.
In any case, if I did get a lift kit, I would definitely go back to Bay Truck Accessories for an installation.
At some point, I’d love to upgrade the head unit to something that supports Android Auto natively, but that’s far down the priority list. The stock head unit supports Apple CarPlay which is good enough, I guess.
In my irrational moments, I’ve thought about installing a comma.ai dev kit, but that is just ridiculous. If you’ve done this, I’d love to hear about your experience.